Integrate your client's financial information into the Maus platform
Enter the client you would like to import accounting data for and click "Financial Integration" in the lefthand menu, which will take you to the Accounting Data wizard.

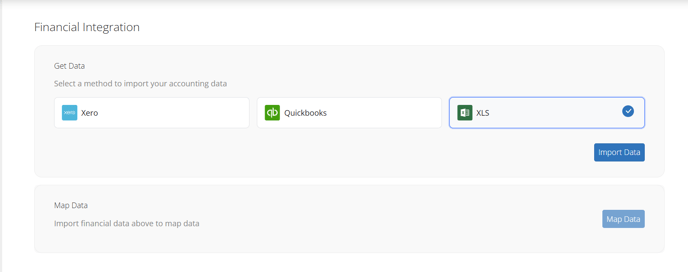
From here, you will be selecting the accounting platform in question and hitting "Import Data". You will then be redirected to the accounting platform of your choosing, requesting to login and authorize the connection for your client’s financial account, and then be redirected back to our system for the final authorization. This will complete the import phase and allow us to move the "Map Data" prompt.
Once imported, we recommend reviewing the mapping via the "Map Accounting Data" area. In most instances, the system's auto mapping feature will map your client's chart of accounts to our system, however you should always cast your eyes over the mapping before utilizing the data in question.

You can adjust the mapping for the line item in question (left hand side of the table) via the drop down box (right hand side of the table) which matches your client's line items to Maus' backend line items.